0
Happy feet and hands
Posted by Buls
on
5:15 PM
in
Body Shop,
Bourjois,
colorbar,
cuticle,
foot care,
foot lotion,
foot scrub,
Foot soak,
hand care,
hand cream,
Inglot,
Lush,
manicure,
nail buffer,
OPI,
oriflame,
OVS,
pedicure,
sally hansen,
top coat
I used to get manicure pedicure done at the salon once a month but the manicure never lasted more than a week. Then I started doing it once a week at home and now don't need to go to a salon for it. Money saved... atleast 1000 bucks per month saved.
Below is the step by step instruction with product details. I chalk out an hour for this over the weekend.
1) Fill a bucket with hot water... not too hot... enough to be able to dip your feet comfortably in it. I have bought a round, wide bucket specially for this.

2) Add a foot soak. There such few options in India of this. I generally use Body Shop's Peppermint Reviving foot soak but am looking for cheaper options now. MRP of this is Rs 895. Add a few crystals of the soak in the water and dip the feet in it. And also the hands.

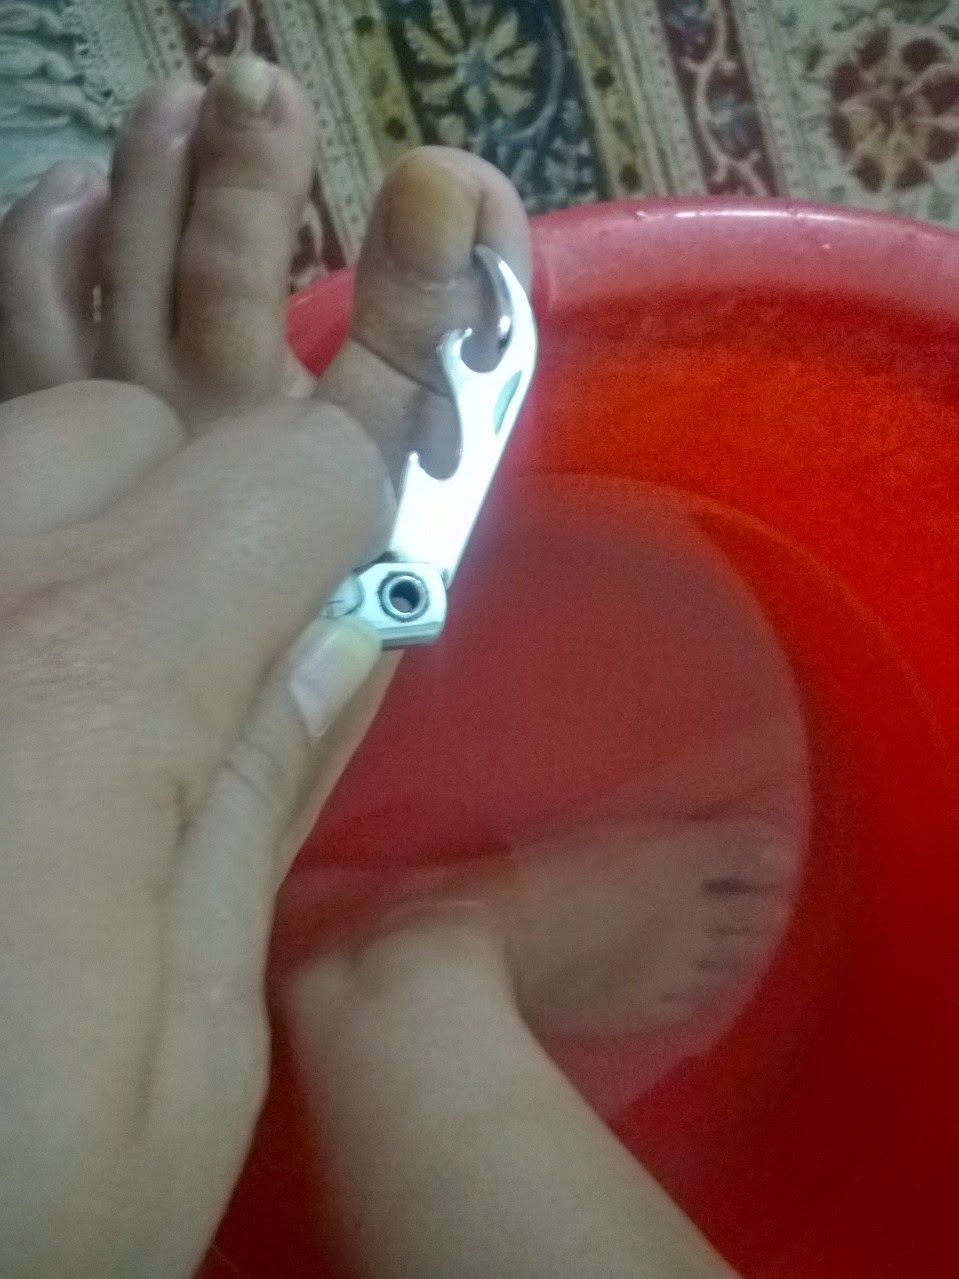
3) After 10-15 mins, use a nail cutter to cut nails on toes and fingers. Then I use the attachment below to remove all the dirt from the side of my nails. It is a very helpful tool and effectively removes dirt and dead skin. I use this for my fingernails also.

4) Use a pumice stone or foot scrub like below to remove dead skin from the feet. Scrub well specially on the sides of the feet.

5) Apply a foot scrub to the feet and hands. I use Body Shop's Peppermint Smoothing Pumice Foot scrub priced at Rs 595. It is quite good and a little quantity goes a long way. Scrub well.


7) Use a cuticle remover. I don't have too many cuticles but this does help in cleaning the nails. I use it only on my fingernails and not on toes. Sally Hansen cuticle remover priced at Rs 650 (I think). This bottle should last a year if used once a week. A little goes a long way.

Apply the gel on the sides of the nails and leave on for 15 seconds. Don't keep it for very long else it will dry off making it difficult to push back.

Use a cuticle pusher to push back the gel towards the nails. Cuticles are effectively removed. Cuticle stick from Colorbar (don't remember the price).

Shown below are pushed back cuticles. Wash the nails in soapy water and wipe with a clean cloth. I clean them off with the water with foot soak.

8) Apply foot cream and massage feet. I am using Lush fair trade foot lotion which has peppermint and feels very relaxing. Priced at Rs 970 and should easily last a year.


Apply hand cream and massage. I am using Body Shop's Vanilla Bliss. It is limited edition priced at Rs 495. I think I bought it for 50% off. Love it. The fragrance is my favorite... it is thick enough to moisturise but gets absorbed easily.

9) Use a buffer to smoothen and give nails a shine. I use Colorbar's pack of 3 nail buffers priced at Rs 350. The colored side removes ridges and the white side gives my nails a shine.


10) And now the nails are ready for a paint. The base is Sally Hansen miracle cure. I don't think this does anything special and I am trying to finish it off.

And the nails are ready for the paint. I keep my nails short and use a filer only if required.

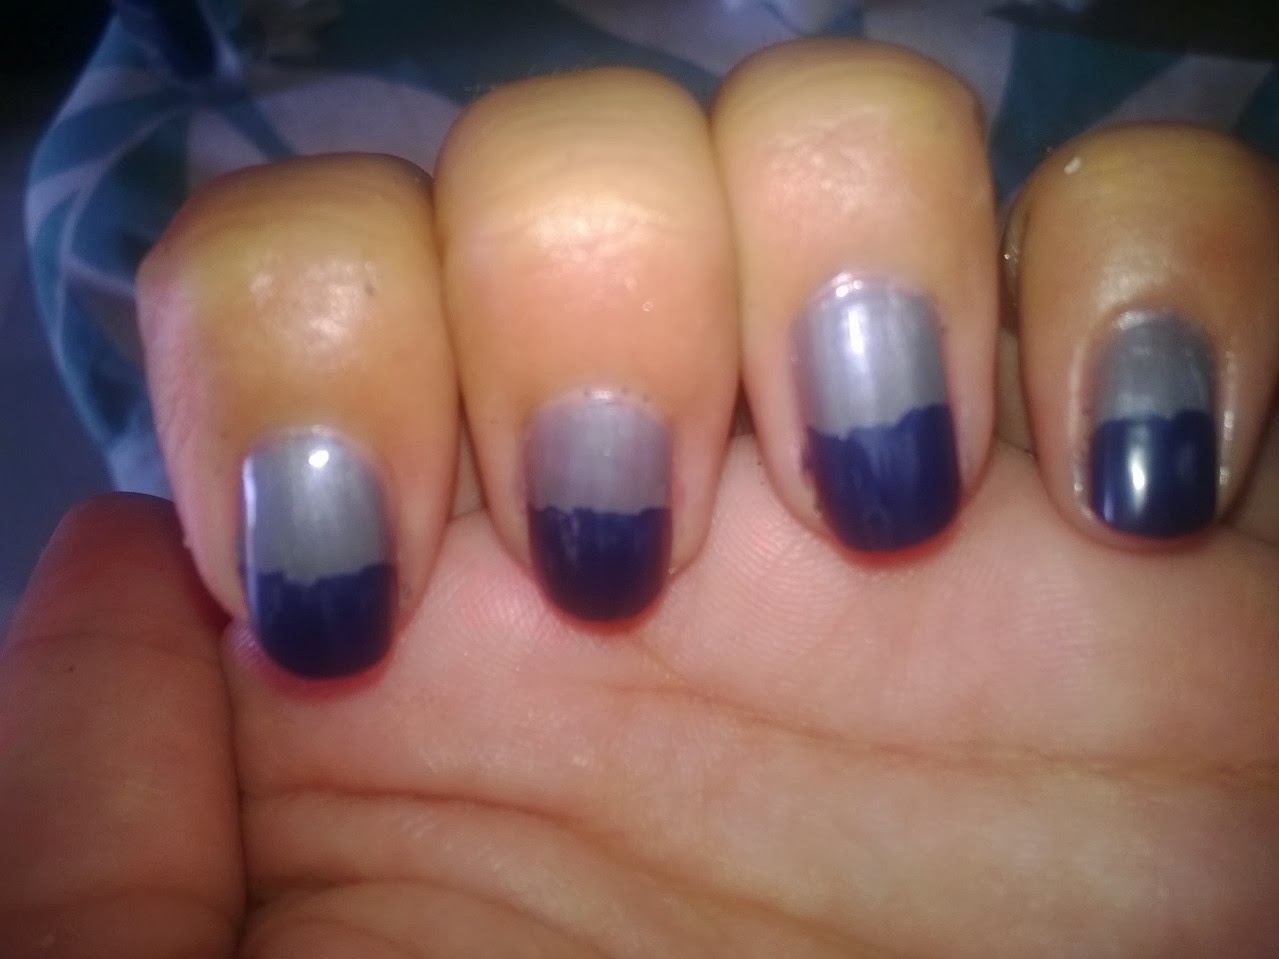
I use a darker, neutral colour for my feet so that it does need to be changed too often. I have applied Bourjois grey nail paint on my feet.

And a bright fuschia - OPI Dim Sum Plum on my fingernails.

And last... but not the least... Inglot drying drops. The cap is a dropper. 1 drop is enough for 1 nail. This is ok types... nothing great. I went to Inglot looking for a nice drying coat and the SA recommended this. Not too happy with it.


Its done... Leaving the 2nd toe blank is not a trend... the nails have broken off and I don't want to paint baby nails. That is the picture of my happy feet.
I will tell you a secret... I hate my feet specially the toes. They are so ugly. Sigh!!!

Those are happy fingernails...


![100_0264[1]](http://confessionsofagirlnextdoor.files.wordpress.com/2013/03/100_02641.jpg)


